Happy New Year, friends! I've been trying to focus and organize myself better and go back to creating my to-do lists again. #NewYearGoals With that said, I have a nice list of projects to share with you all this month. Lots of fun crafts, DIYs and frugal decorating tips. I hope you'll all visit often and share with your friends.
It's no secret that I simply adore adding natural elements into my home. Be it twigs from the yard or succulents from the garden store, I just feel like they add another layer into my décor that brings life and meaning into my home. One thing that I have always been obsessed with are these orange slice garlands (or don't punch the holes and string them and use for bowl fillers). I've purchased the oranges slices already dried before and that are a bit pricey, so I spent part of my Christmas break working on a tutorial to share with you all. These are SO affordable, easy and versatile. But, warning, they take like the entire day to complete, so pick a snowy/cold/rainy one for these simple dried orange slices.

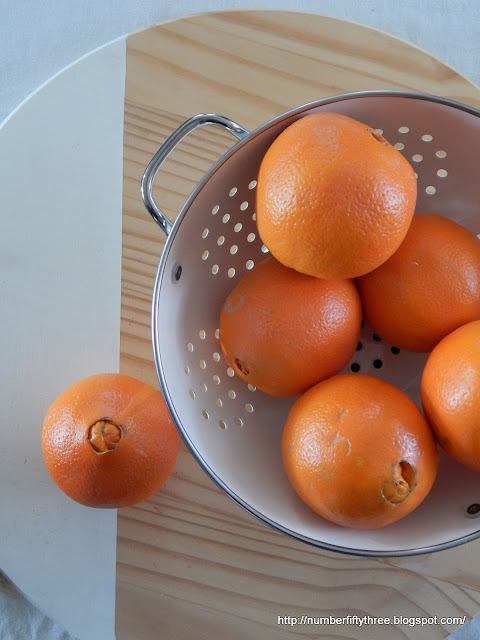
Supplies: Oranges, serrated knife, cutting board, parchment paper, baking sheets, oven, scissors, string, metal skewer.

Did I mention this is a time consuming little endeavor? It's seriously the perfect winter craft for those cold, long days when you are trapped in the house. Bonus: your house will smell AH MAZE ING!
So, all you need to do is preheat your oven to 200 degree. Slice the oranges thinly and lay in a single layer on your parchment paper lined baking sheets.
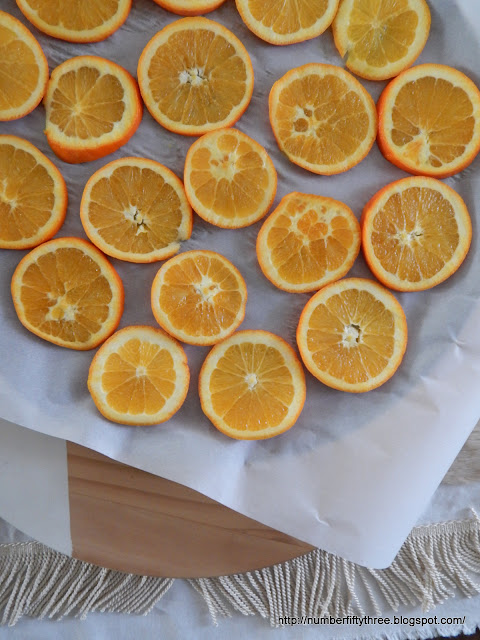

Place in the middle of the oven and bake for oh, six hours or so, flipping every 30-45 minutes until dry. I know. six hours. Don't even try to rush this and up the temp. There is so much sugar in oranges they will just burn and we are looking for that naturally dried feel here.
A couple things...when I made my tester batch I had to run out and do an errand midway through the baking process. I left the oranges in the oven, but SHUT the temp off and resumed the cooking when I returned. When I did batch two I shut the oven off when they were done and just left them in there overnight and they continued to dry without cooking further.
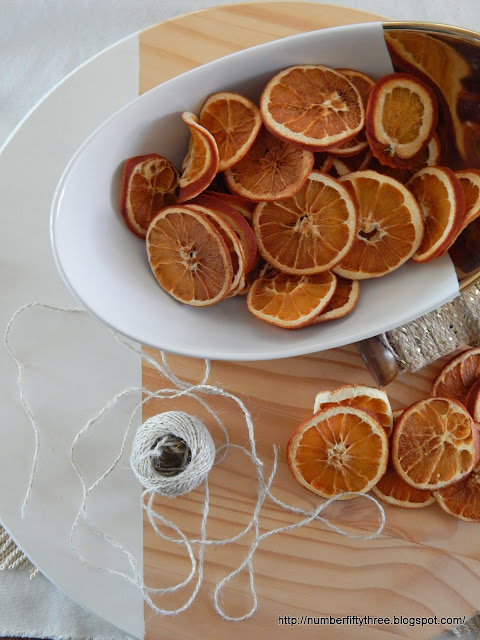

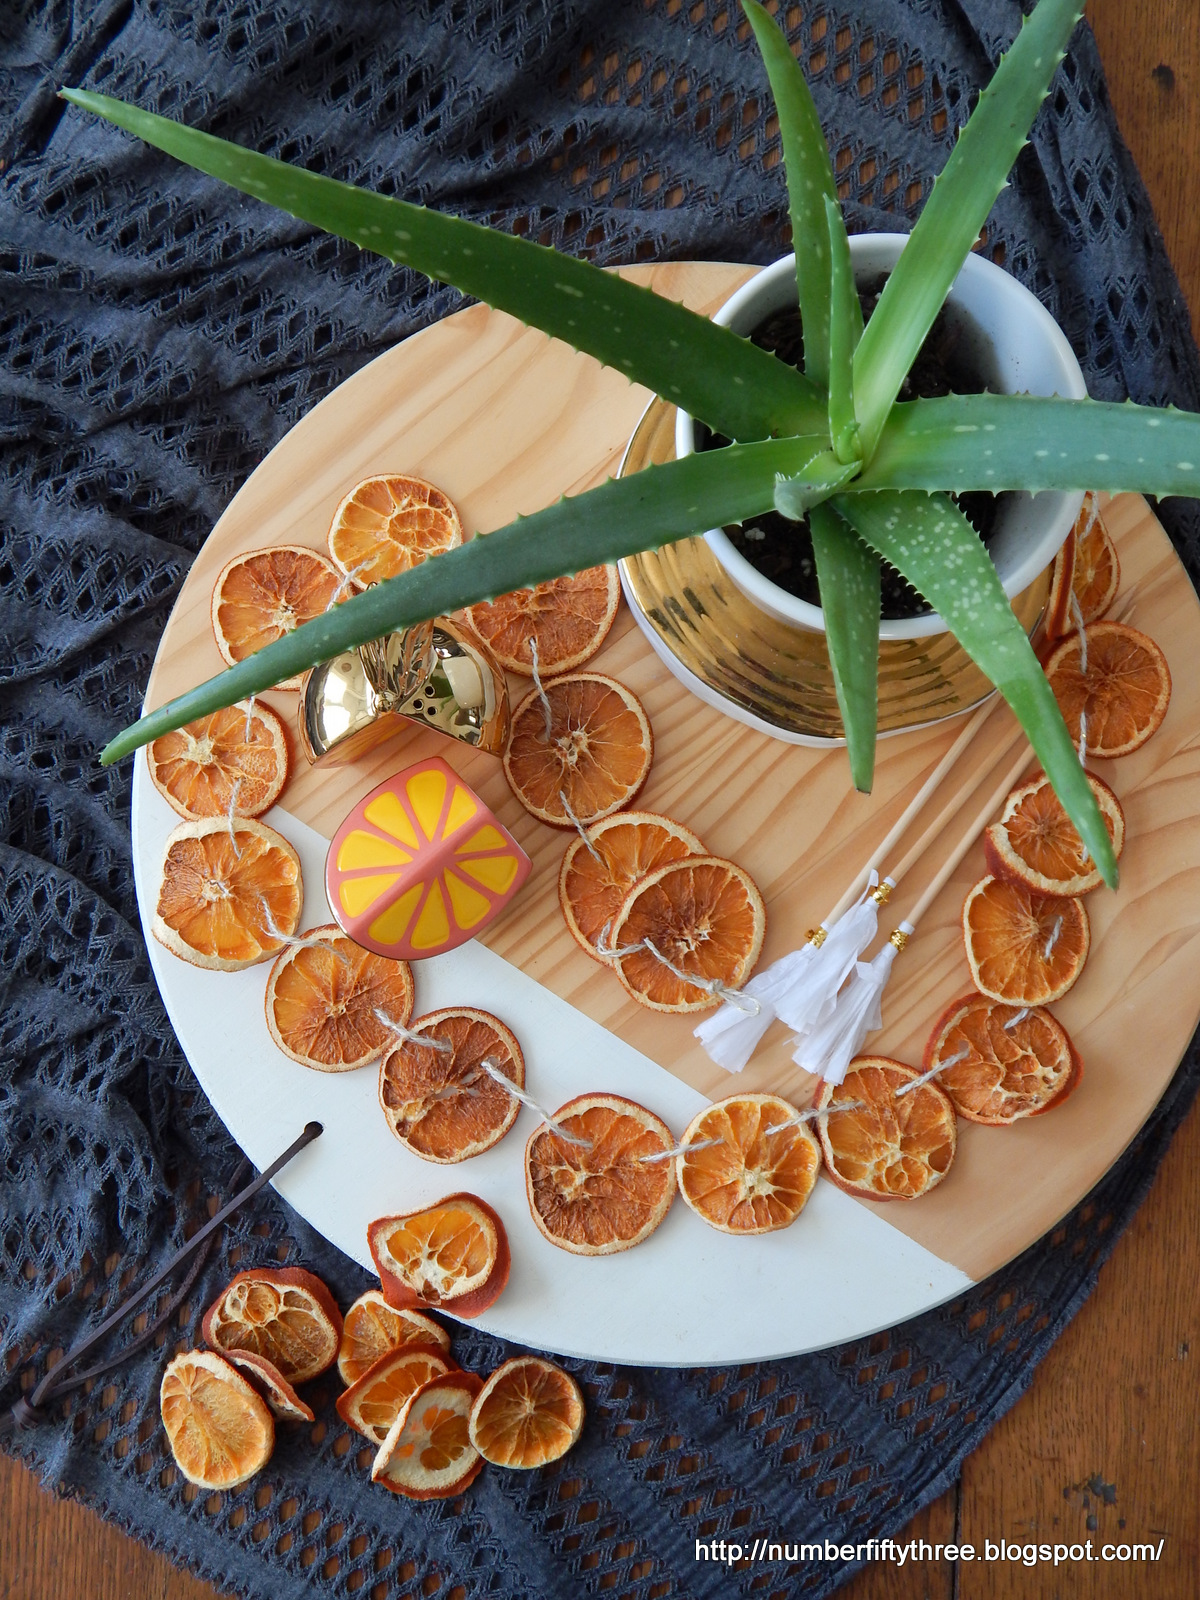
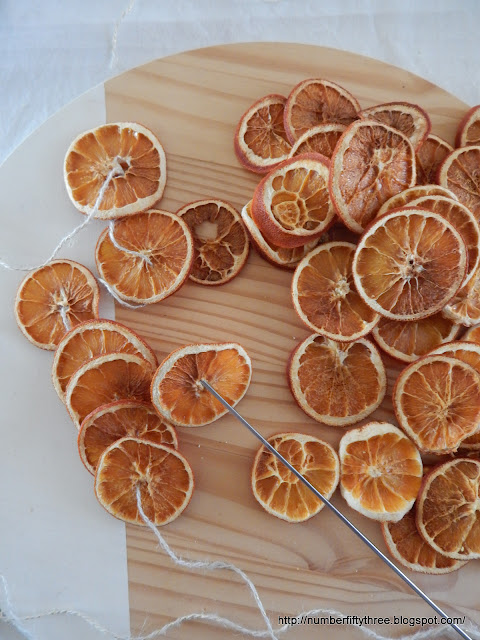
To make the garland simply put a hole in the orange using the skewer. I did my garlands two ways...
First, I put a hole through the center of the oranges slices (or used the one that was naturally there) and strung them that way.

Second, I put two holes at the top of the oranges slices and strung them so the full orange slice is facing out. It's all a matter of preference.
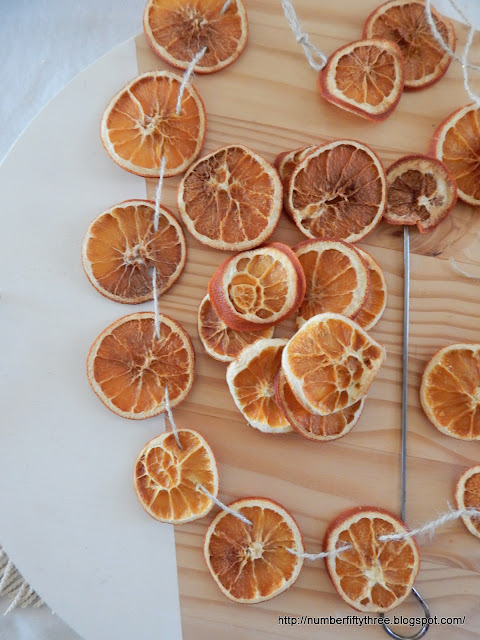

I used twine that had some metallic thread running through it. Love that bit of modern feel SO much.


I'll share where these ended up in my home very soon as I wasn't quite done styling a few areas after taking down Christmas. But I just love the wintery feel that dried citrus gives and I didn't want to wait to share the tutorial. I think these will be perfect to keep up all winter long.


Follow my blog with Bloglovin
If you liked my DIY Dried Orange Slice Garland you may also like...
If you liked my DIY Dried Orange Slice Garland you may also like...
 |
| Easy No Sew Boho Table Runner |


No comments:
Post a Comment
Thank you so much for stopping by Number Fifty-Three! I look forward to your comments.